The kids are out of school and you’re probably finalizing details on what needs to be done before you head down the road with your new or used RV to kick off the first of your summer vacations! Whatever you do, don’t neglect an important piece of RV how-to and upkeep: how to empty and flush your RV’s black tank. This is not something you want to leave home without having a confident understanding of, so grab our tips for emptying and flushing your black tank and familiarize yourself with the process before you leave home.
1, Attaching the Sewer Hose and Elbow Lock
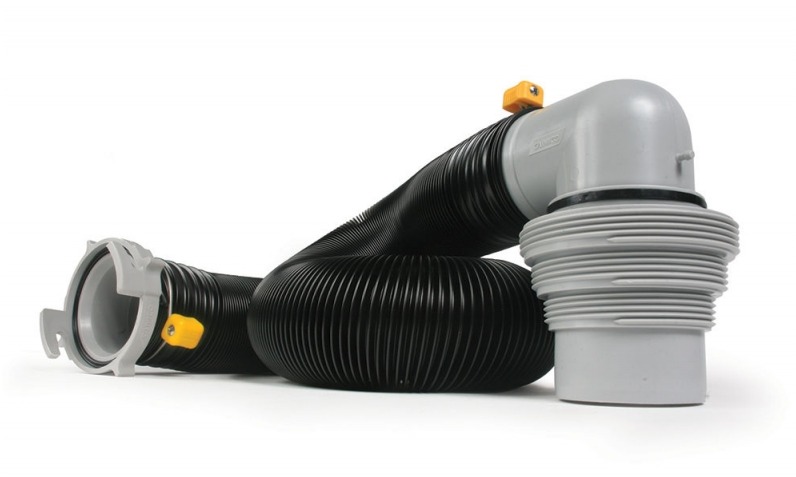
RV sewer hoses come in a few different lengths for your convenience – usually between 10 and 25 feet. The first thing you want to make sure of is that the RV’s sewer outlet is within the length of your hose – if it’s not, don’t take another step. You’ll need to use connecting extension sewer hoses to get the job done. And by no means use the unforgettable scene from the movie RV with Robin Williams as your guide!
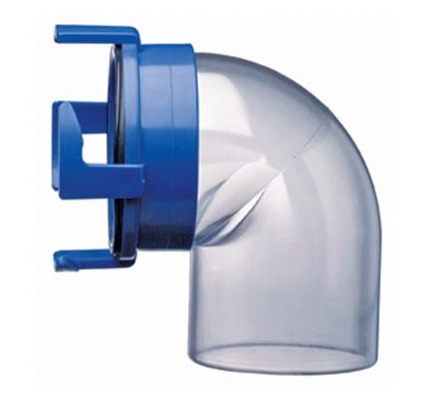
Attach the elbow lock piece to one end of the sewer hose. This end will also connect to the dump station. Elbow locks come in a variety of colors, including clear. And while you may not be terribly interested in watching the progression of sewage, one benefit of using a clear elbow lock is being able to see when the tank is empty and/or how clear the water is when doing a tank flush.
2. Locking It Into Place
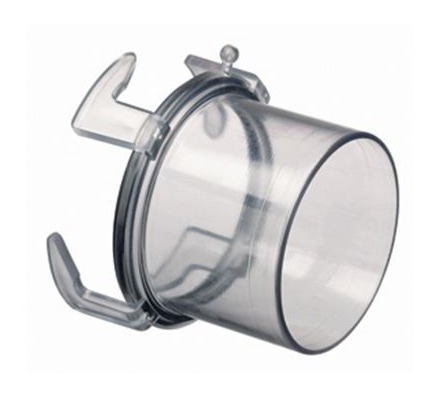
On the opposite end of the hose, you’ll find 4 locking tabs – and these tabs conveniently attach to the 4 receiving tabs you’ll find on the sewer mount on your RV. Click and lock these tabs into place. Make sure you have a good connection – and you’re ready to go!
3. Removing the Valve Cap
Next, remove the valve cap located on the sewer mount. This is not a hard job, but it’s absolutely essential you get it right. If you have questions about this, contact our service department today.
4. Emptying Black Tank Before Grey
A good rule of thumb is to always, always empty the black tank before you empty the grey tank. Why? Because the grey tank is where your old, soapy water goes – and when you empty the grey water immediately after, not only is it a good (and environmentally friendly!) way to empty both tanks, but it also pushes all that soapy water through the sewer hose – which cleans it as you go. Win-win!
5. Flushing the Black Tank
It’s also a good idea to do a black tank flush right after you dump. Similarly to sending the grey water through the hose as a cleanse, flushing the black tank flush sends clean water through the tank, which gives it a fresh rinse.
To do a black tank flush, first locate the black tank flush connection. If it’s not already labeled, do so now (this is something you definitely want to keep separate from the city water connection and not get mixed up!) Attach the hose just like you would a regular garden hose, and the very same way you hook up the city water connection. Once you have a sealed connection to the gasket and you’ve opened the black tank valve, you’re good to start running the clean water in.
Above all, make sure that you open the black tank valve open before turning the water on, and here’s why. If there are any remaining contents in the black tank that hasn’t finished dumping, or may have even caused a clog, when you send in fresh water for the flush, it will simply pressurize whatever is left in there. By opening the valve first, you’ll relieve the pressure and avoid a giant mess. Open the valve, turn on the water, and run the flush until the water runs clear through the elbow lock.
That’s all there is to it! Dumping and flushing the black tank may not be anyone’s idea of a good time, but it’s necessary to know what you’re doing so that you can continue to vacation in a clean and safe manner. Have any questions? We’re here to help. Contact us today!


